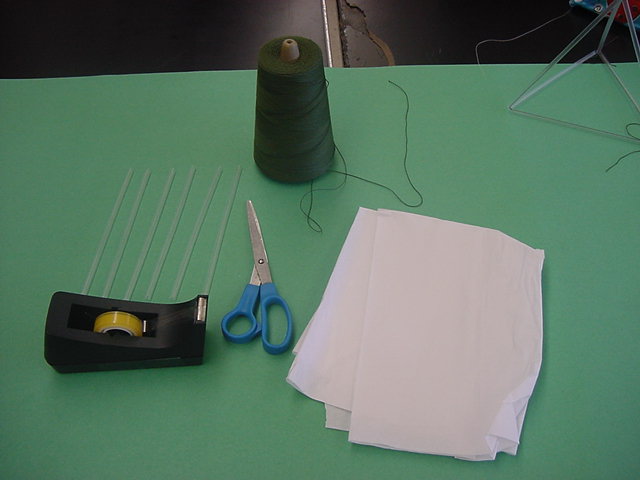
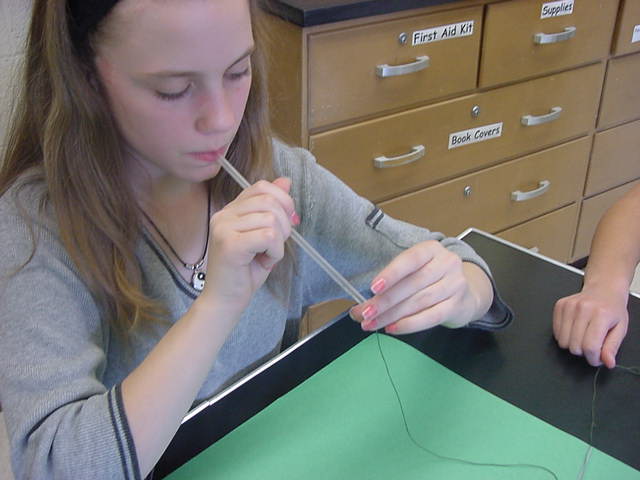
| Materials List: Light string or heavy thread, 24 drinking straws (8"), 2 sheets of wrapping tissue paper (or foil tissue paper), scissors, and transparent tape. | Getting string through the straws. The method shown here involves sucking the string through the straw. You can also feed it through by hand. (That is much slower.) CAUTION: Be sure to hold the end of the string or you can suck it down your throat!!! | |
|
|
|
|
|
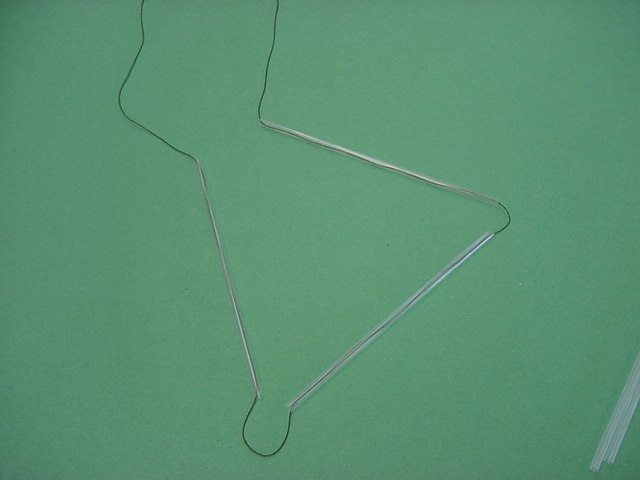
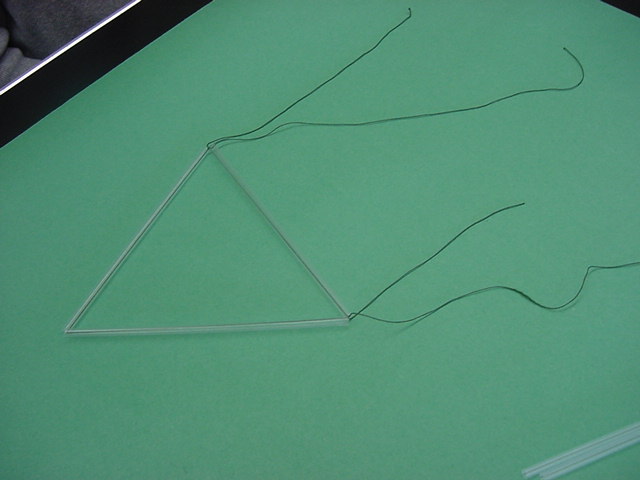
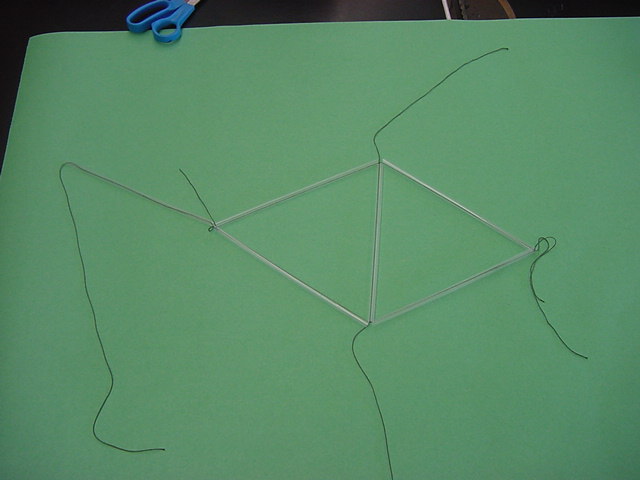
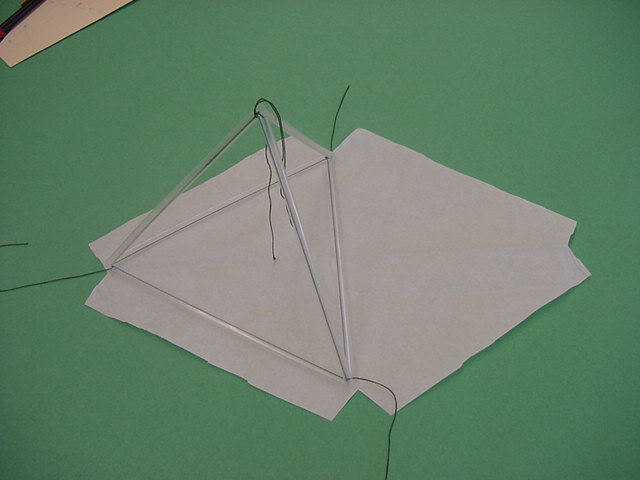
Step 1. Take 3 straws and feed the string through all of them. Be careful not to bend the straws in any part of this process. This greatly weakens the straws and the kite may collapse in a strong wind. |
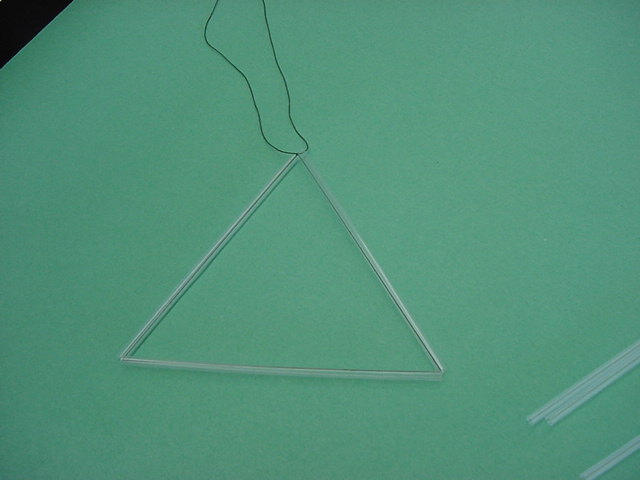
Step 2. Tie the ends of the string in a tight not. This should form a triangle. Be sure to make the joints tight and leave extra string at the end for later. | |
 |
 |
|
|
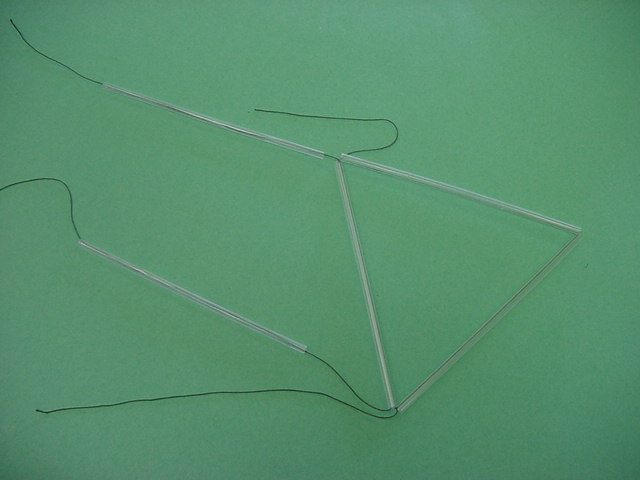
Step 3. Tie a piece of string to one of the open ends of the triangle. Make sure the string is long enough to feed through a straw. |
Step 4. Feed straws over both of the pieces of thread now on the triangle. | |
 |
 |
|
|
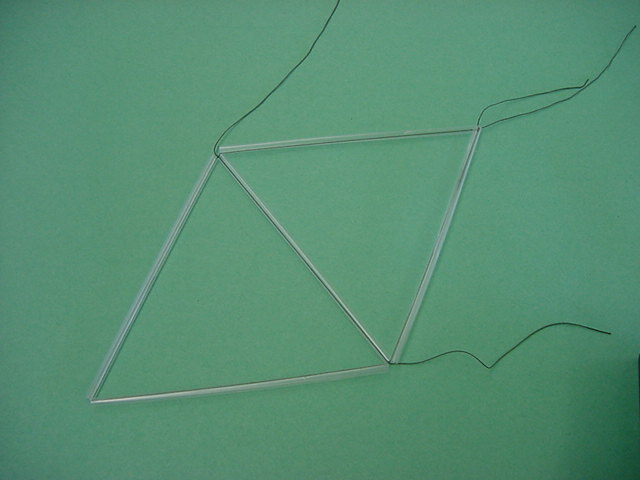
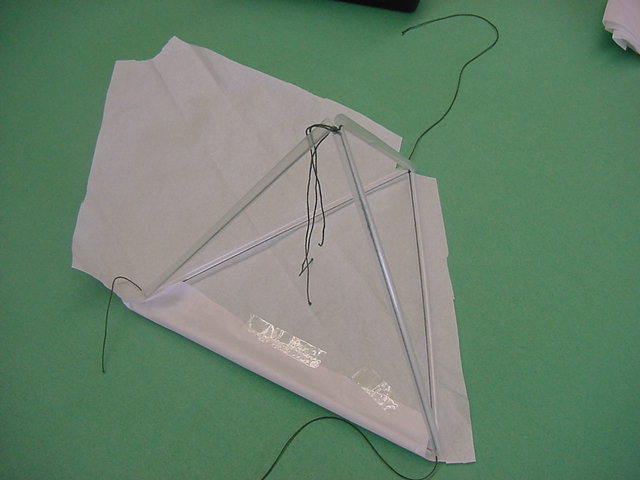
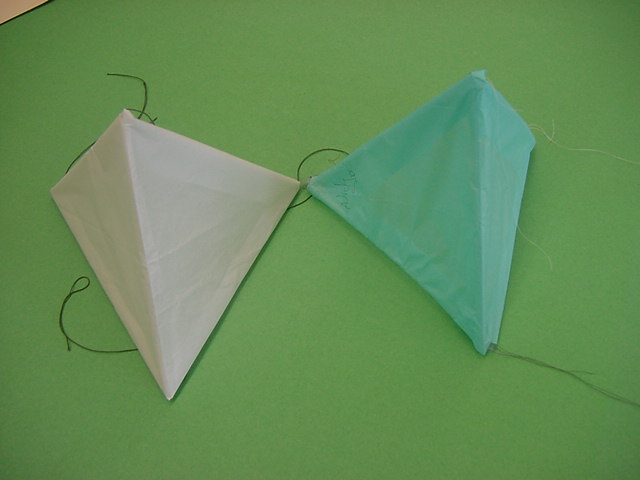
Step 5. Tie the ends together to make this shape. There should only be one straw in the middle of the diamond! |
Step 6. Tie a piece of string to the opposite end of the diamond that has no thread. Use enough string to feed through a straw. | |
 |
 |
|
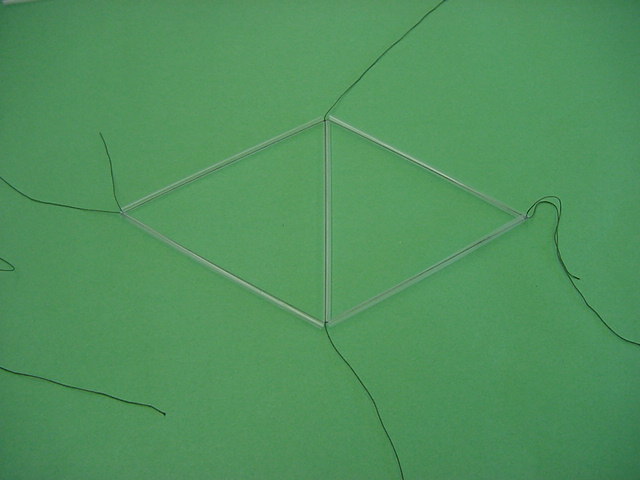
| Step 7. Feed a straw over that piece of thread. |
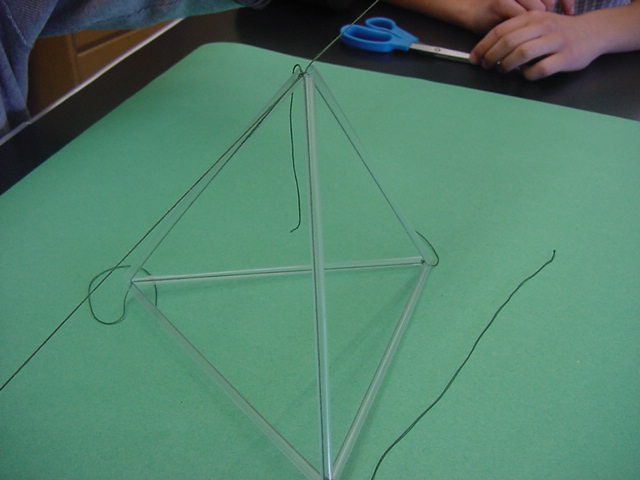
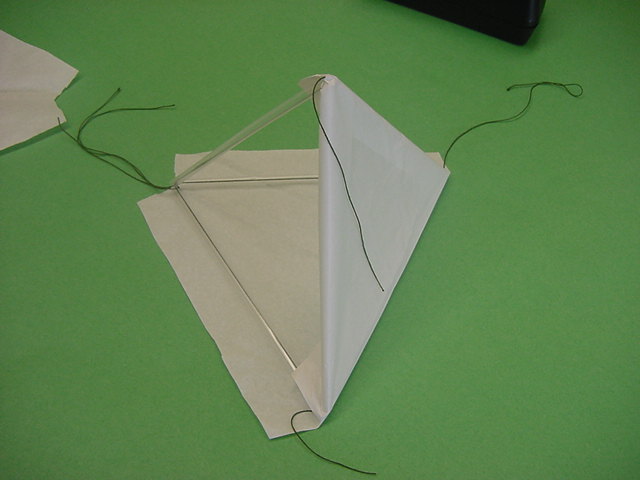
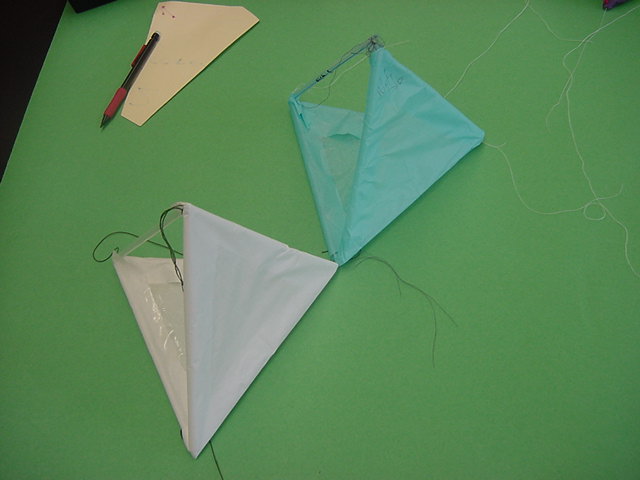
Step 8. Tie that string to the opposite end of the diamond to form a tetrahedron. (Make sure the joints are tight and leave the excess string for later!) |
|
 |
 |
|
|
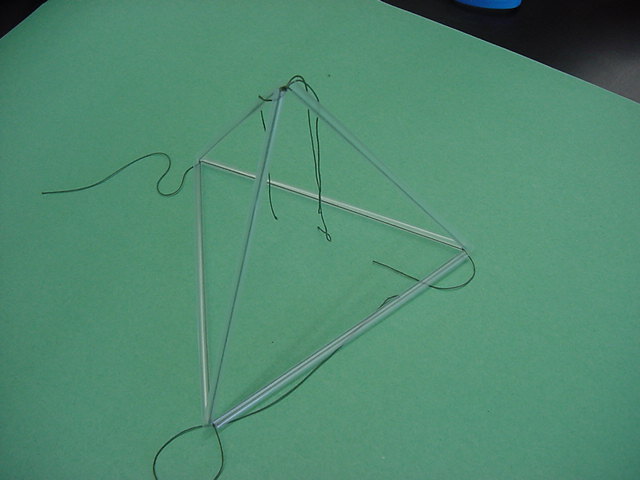
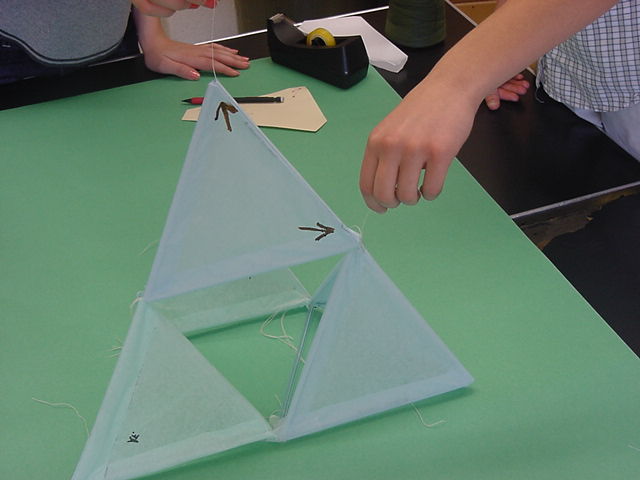
Here is a picture of a completed tetrahedron. Notice the extra string is being saved for later. |
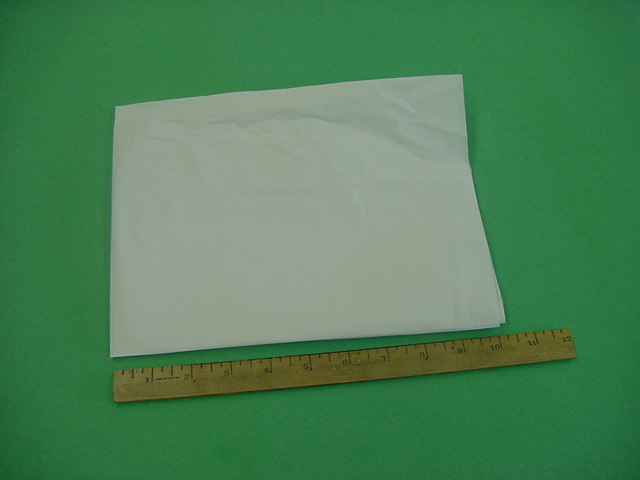
Step 9. Fold a full size sheet of tissue paper 3 times for make a 7"x10" size. | |
 |
 |
|
|
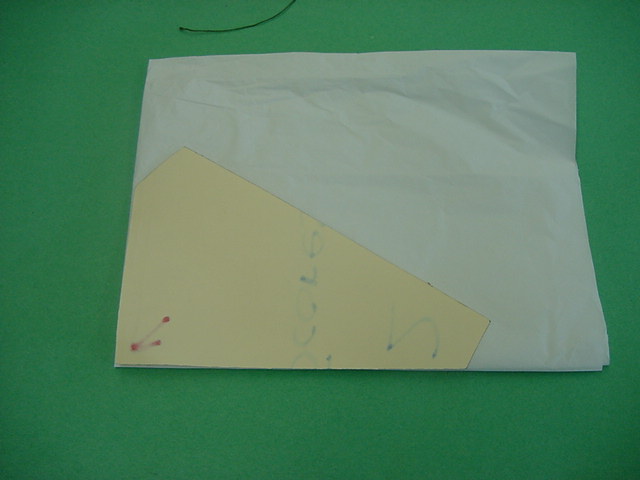
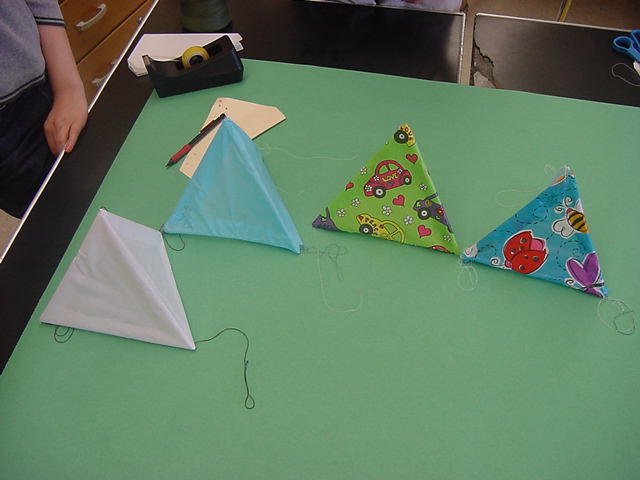
Step 10. Place the template on the most closed end of the tissue paper. Look at the next two pictures to see where to place the template. Trace around the template. REPEAT STEPS 1-10 3 MORE TIMES TO MAKE 4 TETRAHEDRON CELLS. |
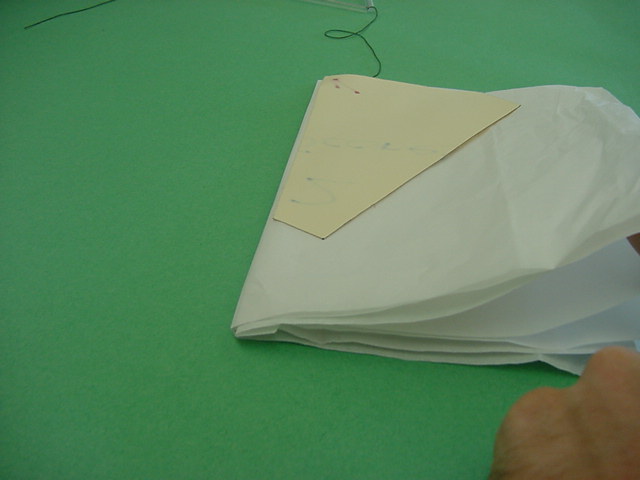
Notice how there is no open area here. There are no openings. | |
 |
 |
|
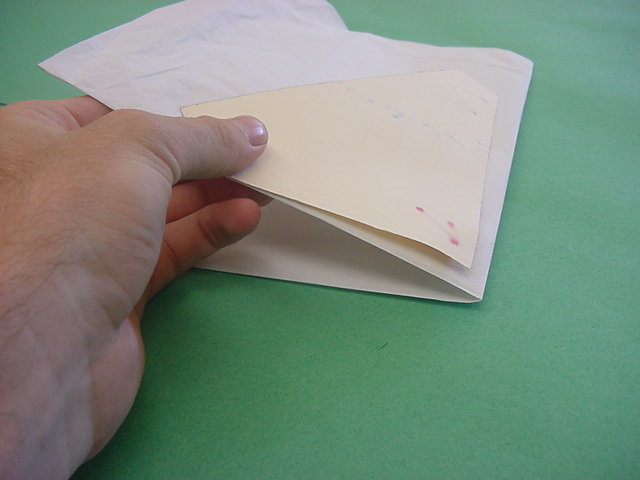
| Notice on this end there are openings. This end will not work. |
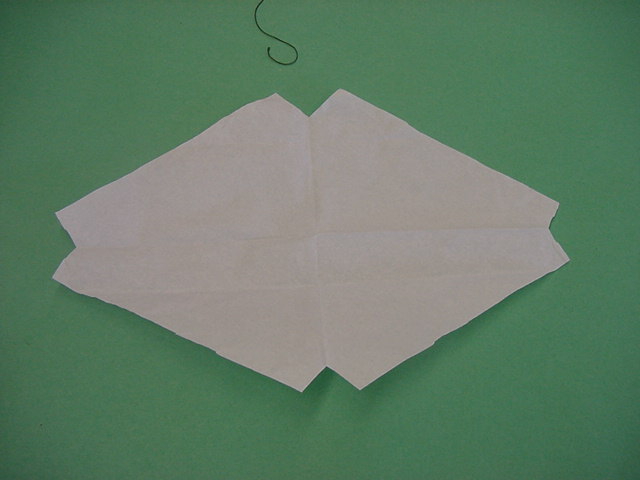
This is what the final cover should look like. Each sheet of tissue paper should produce two cell covers. |
|
 |
 |
|
|
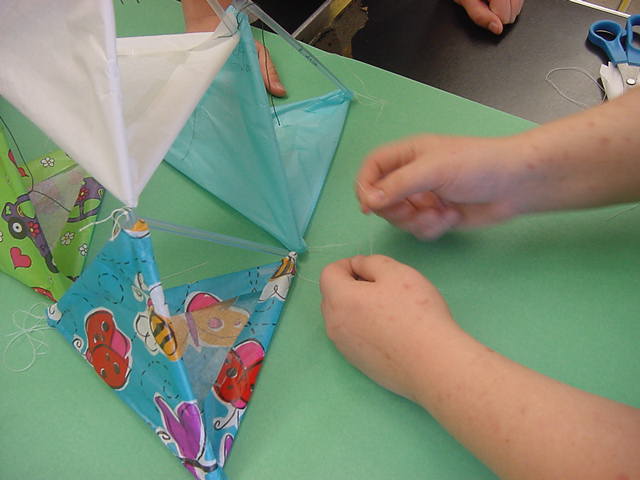
Step 11. Place a cell onto the middle of the cover so that one straw rests in the middle of the pattern. |
Step 12. Fold one edge of the cover over and tape down. Then tape the other flap on the same side down. This will cover 1 side of the tetrahedron. | |
 |
 |
|
| Step 13. Now flip the cell over and repeat steps 11 and 12 on the other side of the cell. This will cover 2 sides of the tetrahedron. |
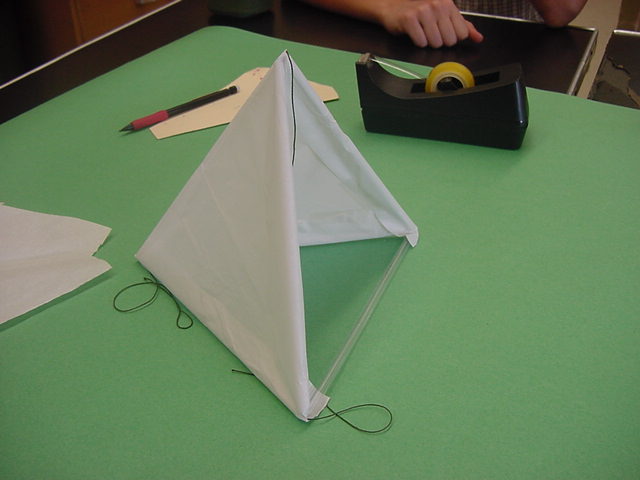
Here is what a finished cell will look like. Notice that only 2 of the 4 sides of the tetrahedron are covered. REPEAT STEPS 11-13 THREE TIMES TO COVER ALL 4 CELLS. You may use different colors if you like. |
|
 |
 |
|
|
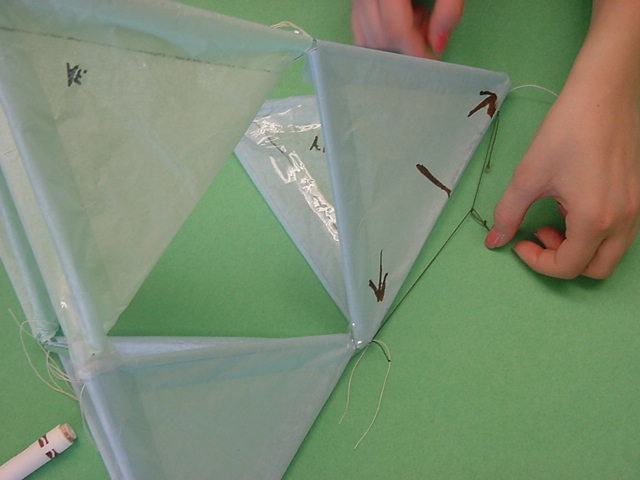
Step 14. Connect the trailing cells. Place 2 cells side by side and tie them together in the middle. (Now we are using the extra string that we save from before!) Make sure the cells are connected tight! You may want to ask a friend for help here. Notice the covered sides are facing the same direction. |
Step 15. Connect the leading cells. Place one cell on top of the other and tie them together. Make sure the cells are connected tight! You may want to ask a friend for help here. Notice the covered sides are facing the same direction. | |
 |
 |
|
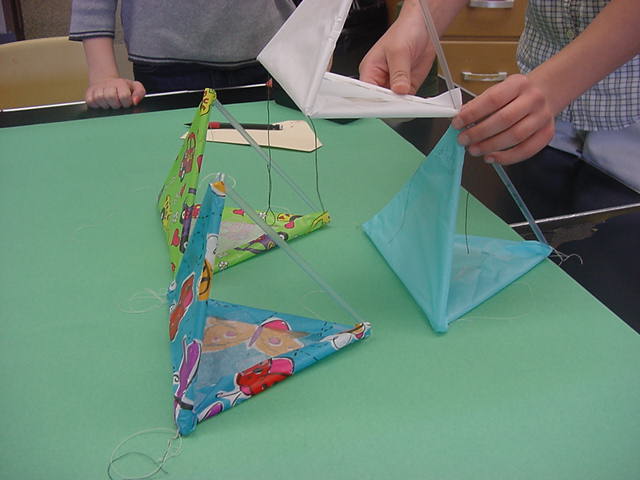
| The cells on the left are the trailing cells (the back pair). The cells on the right are the leading cells (the front pair). |
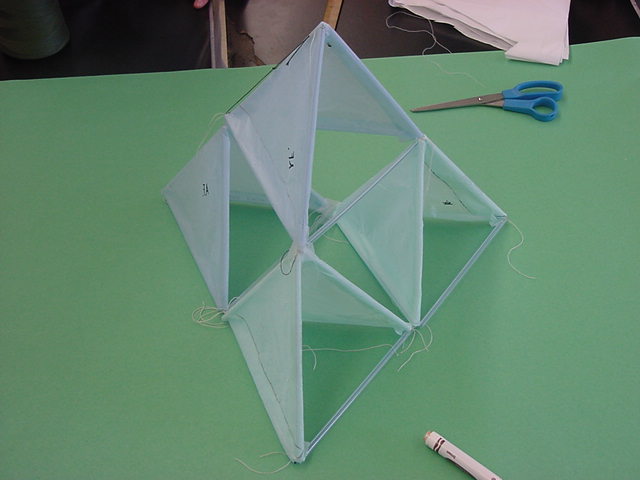
Step 16. Lie the leading cells down on their side. Place the trailing cells against them so the fronts of the trailing cells meet the backs of the leading cells. |
|
 |
 |
|
|
Step 17. This is looking at the front of the kite. The trailing cell is being tied to the leading cell. There will be four points that need to be tied together. Notice the leading cells are not tied together very well on this kite!!! |
Step 18. Tie the other trailing cell to the leading cells. This should give you a completed four cell tetrahedral kite. Notice how all covers are facing the same direction. | |
 |
 |
|
|
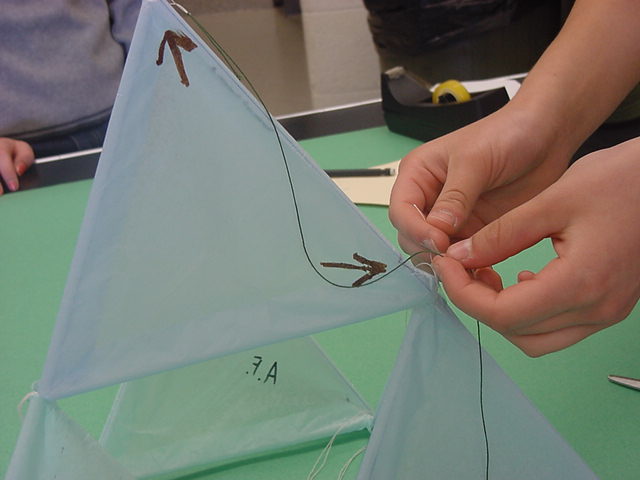
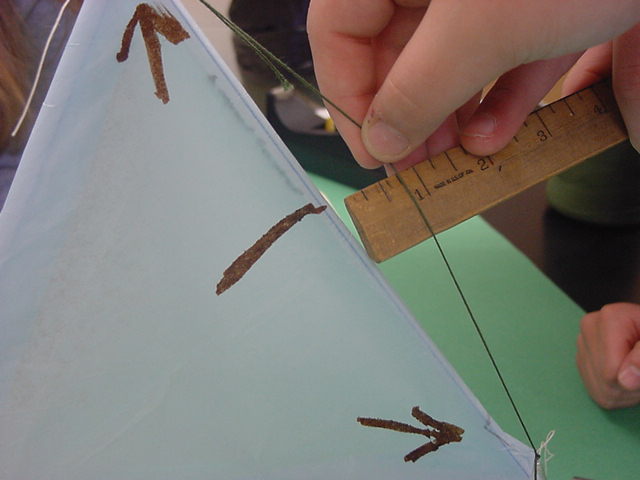
Step 19. Attaching the bridle. Follow these directions very carefully!!! Bridle construction and placement affect the flight of the kite more than anything. Be sure to place it properly. Set the kite down so a top and front is established. This kite is marked with arrows to demonstrate. Tie a string to the very top and the middle joint of the leading cells. Tie it so that there is not much slack in the string. (So the string can't be pulled away from the kite.) |
Step 19 continued. | |
 |
 |
|
|
Step 19 continued. Here is what the string should look like. It is on the top cell and the front of the leading cells. |
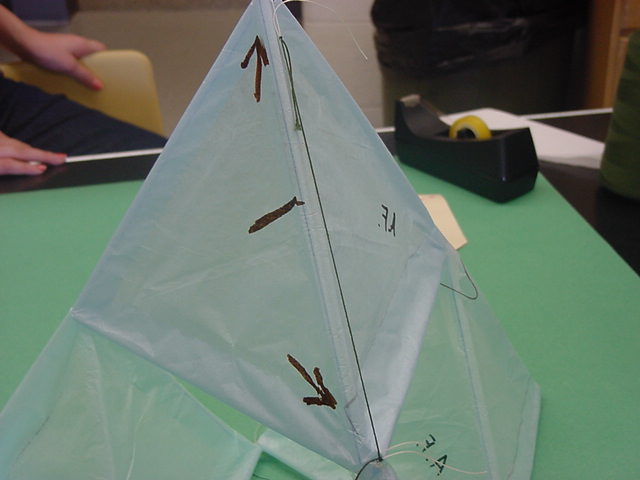
Step 20. Make sure there is no more that 3/4" slack in the string. If there is, the kite may not fly properly. Check this before securing the final loop. | |
 |
 |
|
| Step 21. Tie a small loop to the middle of the string. The kite string will be attached to that loop and will complete the bridle. |
Here is a finished kite ready to fly!! This kite requires no running or tail. Simply set the kite down as shown here and pull gently on your kite string. The leading edge (where the bridle is) will be downward and facing you while it flies. Some people think this works like a parachute, it actually flies like the wings of a plane. |
|
 |
 |